

Introduction
Creating realistic water effects in Unity is most of the time choosing between visual quality or performance. Most shaders that have the look of real ocean waves are either expensive or too difficult to work with. In this article, I’ll walk you through my approach to designing a water shader that looks realistic and keeps things manageable in terms of performance. By implementing techniques like Gerstner waves, buoyancy, and ripple effects, we’ll build an ocean effect that brings simplicity and realism to Unity projects.
Research question
How can a wave and buoyancy system in Unity be designed to balance simplicity with realism?
Gerstner waves implementation
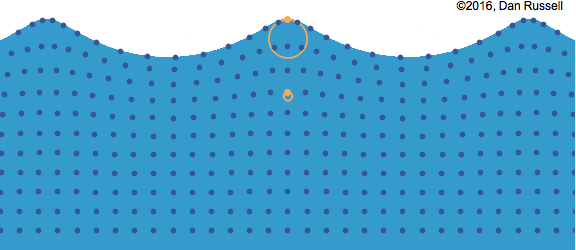
To create a realistic ocean, we need Gerstner Waves, also known as trochoidal waves, to be implemented. These waves use vertices which are circling in the x and y positions instead of only using a sin function that goes up and down.
There is a tutorial online from Catlike Coding [1], about implementing Gerstner waves in Unity. We followed the tutorial and created five different Gerstner waves. We now have implemented the Gerstner waves in our project!
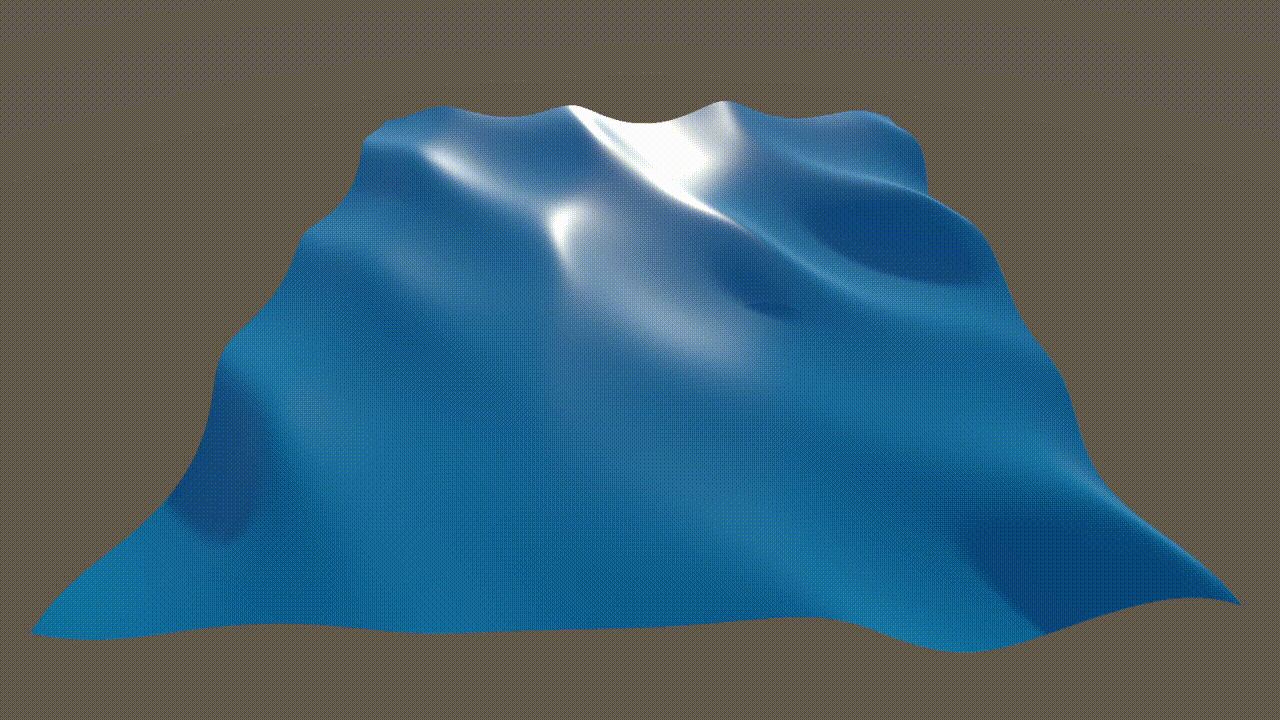
Result: After implementing the waves, the water surface now moves naturally, it now has the look of a real ocean.
Buoyancy effect
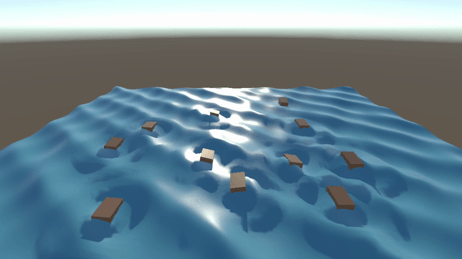
The objects need to have a buoyancy effect to create a realistic ocean. Objects that can float, should be floating on the water. A YouTube tutorial by V. A. [2][3] guided me through implementing this buoyancy system, which calculates wave heights for multiple points on each object, allowing them to tilt and adjust naturally on the waves. Following this tutorial will create a buoyancy effect on all objects, which gets us closer to a realistic ocean. We have to replicate the Gerstner wave logic in script, to get the same result, doing this we now check the position for every floating point of the floating object and make it balance on water.
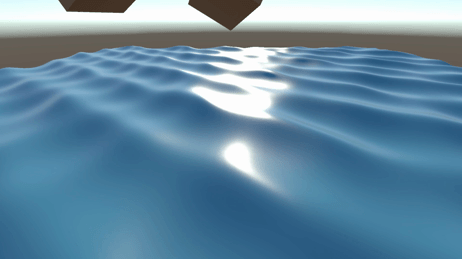
Result: Objects now float and tilt realistically with the wave motion.
Ripple effect
The logic of creating a ripple effect is having a sin function with certain values of the ripple. The wave length, frequency, amplitude, max distance and the decay are determining how the ripple looks. But this can be done only once and will be set for all the ripples in the scene. When an object enters the water, the ripple should appear. There is a maximum of 10 ripples in the scene because of performance. This leads to a certain amount of ripples that will not be visible after placing 10 or more object in the water. So we create a camera based ripple function that makes the 10 ripple closest to the camera visible. The ripples furthest away from the camera, will be invinsible.
objects.Sort((a, b) => Vector3.Distance(Camera.main.transform.position, a.transform.position).CompareTo(Vector3.Distance(Camera.main.transform.position, b.transform.position)));
Result: The water surface now reacts dynamically when objects enter the water, with ripples fading out as they move away from the camera.
Foam effect
Foam adds visual depth by simulating the appearance of waves breaking or interacting with each other. Using vertex height, we can adjust foam color and appearance based on the wave peaks. The foam effect is created by blending colors based on vertex height. When a vertex reaches a specified height threshold, it changes to a foam color. Adjusting parameters in Unity’s inspector (height threshold and transition range) allows for different foam intensities.
float heightFactor = smoothstep(_HeightThreshold, _HeightThreshold + _TransitionRange, IN.worldPos.y);
c.rgb = lerp(c.rgb, _HighWaterColor.rgb, heightFactor);
When the transition height is zero, it will look like a cartoon foam shader like this. But that is not what we want, we need the foam to be more realistic, so we are bumping up the transition height, so the color change is smooth. On the left you will see the cartoon foam effect and on the right you see the realistic effect.
Result: The shader now displays realistic foam at the peaks of waves, improving the visual effect.
Splash effect
When an object falls into the water, it should create a splash. For this, we use a particle system with pooling, allowing for better performance in dynamic scenes. The splash effect uses a particle system that includes parameters for gravity, size, start color, and trail length. These can be customized in Unity’s inspector to simulate different splash intensities.
Result: Objects create splashes when entering the water.
Propagation ripple effect
Creating a wave height texture
The ripple effect needed refinement to dynamically follow moving objects. Propagation-based ripples allow for dynamic interaction with objects in the water. A tutorial is used for this by ao iti, [4].
Using a compute shader, we check neighboring wave heights and adjust each ripple’s height based on the propagation equation. Obstacles stop wave propagation, adding realism.
// Calculate height factor based on vertex position to blend colors
float newWaveHeight = centerWaveHeight * 2 - prevCenterWaveHeight + 0.25 * (rightNeighborWaveHeight
+ leftNeighborWaveHeight + topNeighborWaveHeight + bottomNeighborWaveHeight - 4 * centerWaveHeight);

newWaveHeight *= waveDispersionFactor;
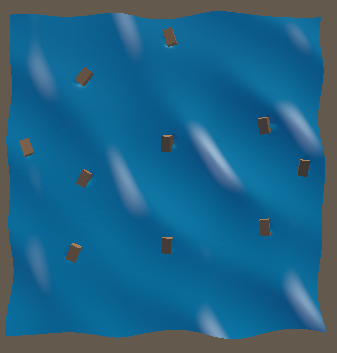
And then write the new wave heights to the next wave heights so the texture of the next wave heights will be right. On the water object, we add a new camera. This will project the obstacles in the water on a texture. When the propagation is going against an obstacle, there will be no further waveheight.
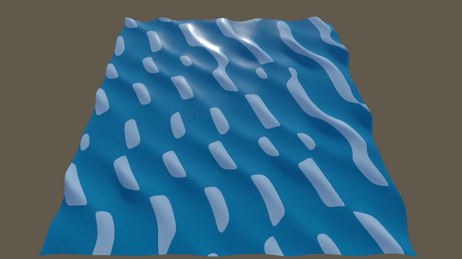
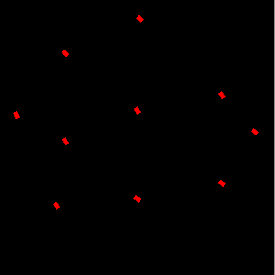
On the left is the texture of the obstacles that the camera is rendering. On the right you see the obstacles in the scene.
The gif below is the result of the propagation in textures.

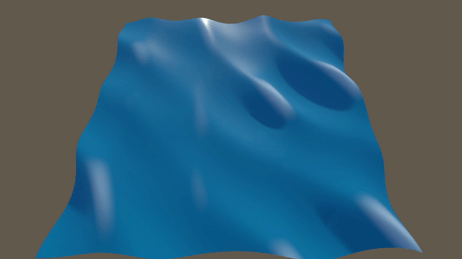
Creating the vertex displacement from the wave heigt texture
The texture we have, needs to be set into a vertex displacement. In the water shader, we need the texture map and the amplitude to change the height factor of the propagation waves in the scene. The texture map is calculated through the compute shader (left pictures ), now all we need to do is the vertex displacement. The vertex displacement is done in the water material. We are grabbing the height texture and set it to the y-offset of the wave height. So the propagation effect is being added to the Gerstner waves. After these the calculations, we need to calculate the tangent and normals for the ripple and add it to the normals of the Gerstner waves. The vertex displacement is seen on the right pictures.


Below you can see a real-time change in the wave textures and the vertices displacement based on the texture.

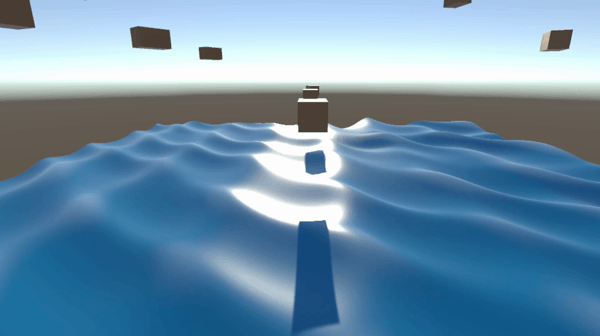
End product:
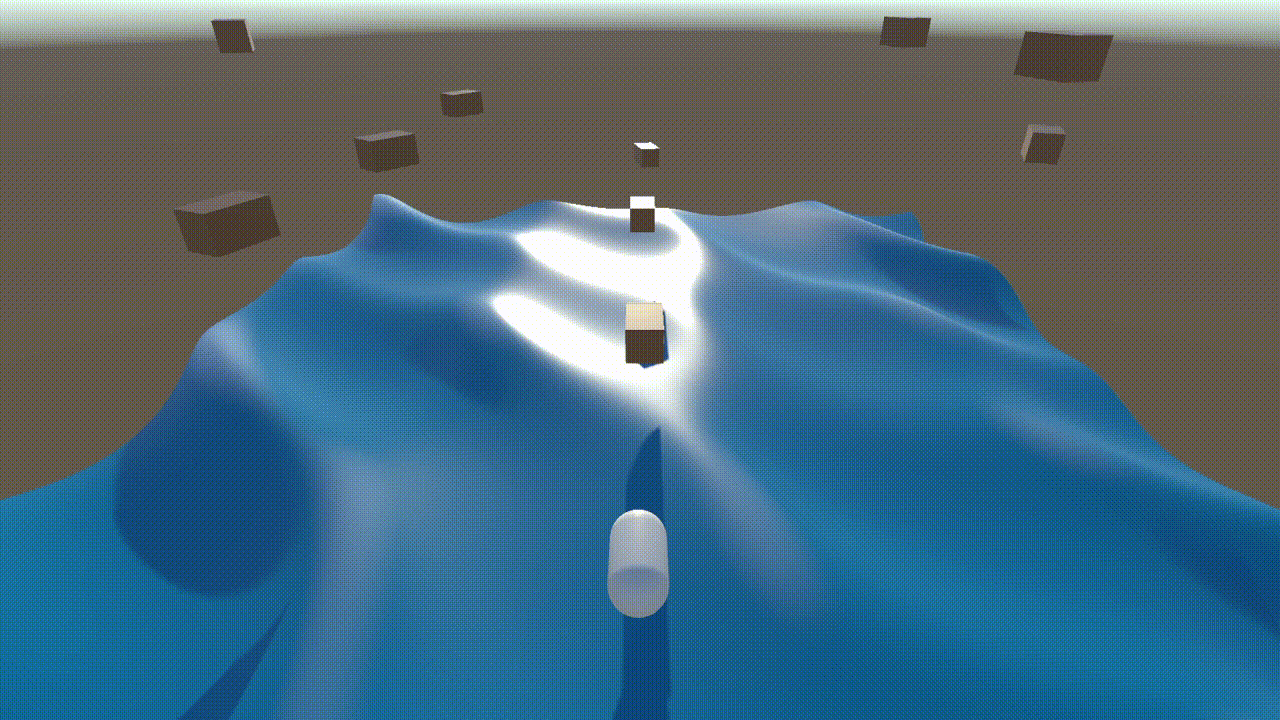
Result: The shader now displays textured wave displacement in 3D, creating a more immersive and realistic water effect.
Conclusion
Creating a realistic water shader in Unity brings together a mix of techniques to mimic the dynamic movement of ocean water. Starting with Gerstner waves, we build the foundation for natural wave motion, giving the water a realistic flow. The buoyancy effect adds another layer of realism, letting objects float on the waves, while the propagation effect makes the water dynamic when objects interact with it. Adding foam and splash effects enhances the visuals, making the water feel immersive.
This shader is a good balance between simplicity and realism, making it manageable in terms of performance without underdoing on visuals. There’s still potential to refine it further, especially when it comes to handling complex obstacles. But overall, this approach provides a good shader for creating realistic water effects in Unity and can be built upon for projects needing even more detail and interaction.
References
- 1. Catlike Coding, “Waves,” Catlike Coding, Jul. 25, 2018. [Online]. Available: https://catlikecoding.com/unity/tutorials/flow/waves/.
- 2. V. A., “Buoyancy with Unity Rigidbodies - Part 1 / Planar Buoyancy” YouTube, Apr. 30, 2021. [Online Video]. Available: https://www.youtube.com/watch?v=iasDPyC0QOg.
- 3. V. A., “Buoyancy with Unity Rigidbodies - Part 2 / Waves” YouTube, May. 6, 2021. [Online Video]. Available: https://www.youtube.com/watch?v=v8ipbgiCg2k&t=833s.
- 4. ao iti, “The Future of AI: 5 Key Predictions,” YouTube, Apr. 29, 2022. [Online Video]. Available: https://www.youtube.com/watch?v=4CNad5V9wD8.